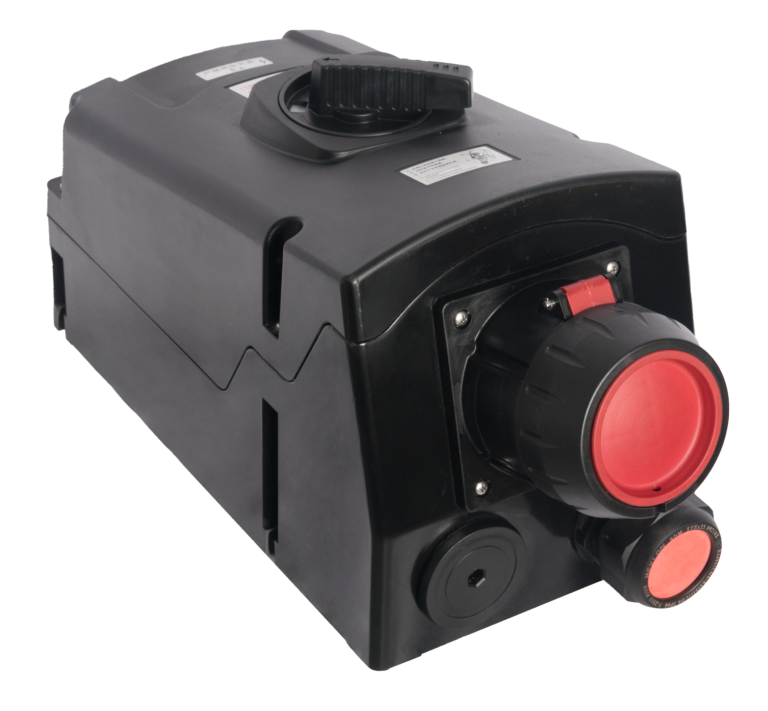

HSP1P 125 AC250 4P W-SCT | HSP1P 125 AC415 4P W-SCT | HSP1P 125 AC500 4P W-SCT | HSP1P 125 AC690 4P W-SCT | HSP1P 125 AC250 4P W-SCT | HSP1P 125 AC415 4P W-SCT | HSP1P 125 AC500 4P W-SCT | HSP1P 125 AC690 4P W-SCT | HSP1P 125 AC250 5P W-SCT | HSP1P 125 AC415 5P W-SCT | HSP1P 125 AC500 5P W-SCT | HSP1P 125 AC690 5P W-SCT | HSP1P 125 AC250 5P W-SCT | HSP1P 125 AC415 5P W-SCT | HSP1P 125 AC500 5P W-SCT | HSP1P 125 AC690 5P W-SCT
Ex 125A Wandsteckdosen
4P | 5P
ATEX-Kennzeichnung
 II 2 GD Ex db eb IIC T4 Gb
II 2 GD Ex tb IIIC T80 °C Db
Technische Daten
Downloads

Ein Vergleich mit Marken aus Deutschland, Italien und Kroatien ergab einen durchschnittlichen Preisunterschied von 30 Prozent, ohne dass dabei ein Unterschied in der Verarbeitungsqualität erkennbar war.

Wir füllen unseren Lagerbestand laufend auf, damit die beliebtesten Varianten sofort verfügbar sind.
Wir entwickeln und fertigen Steckdosen-Sets und Verteilerkästen für Ex-Bereiche, die genau auf die Anforderungen der jeweiligen Installation zugeschnitten sind.

Sind unsere Produkte von hoher Qualität? Vereinbare einen Termin in unserem Vorführzentrum und vergleiche sie mit den Lösungen anderer Unternehmen.
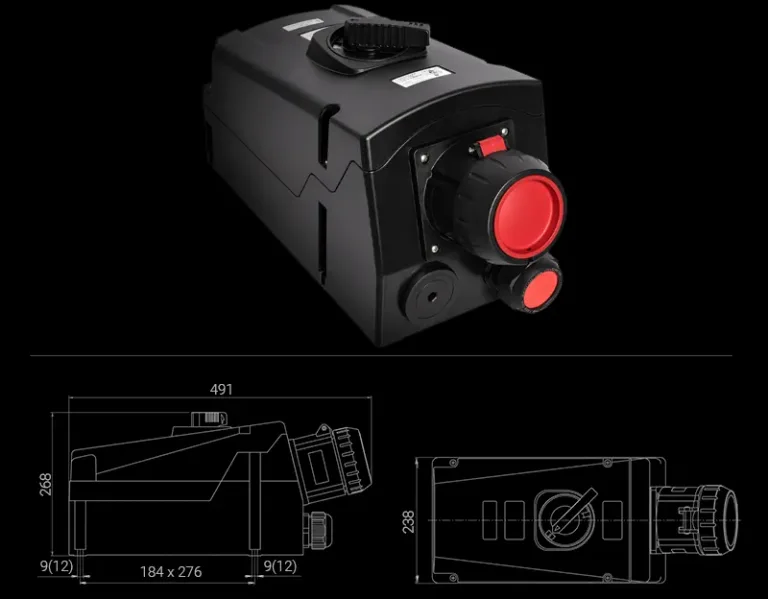
Ex-Steckdosen und -Stecker
Wichtigste elektrische Parameter
POLES | AC/DC PART NO. | AC/DC VOLTAGE | DATA SHEET |
|---|---|---|---|
4P (3P + PE) | HSP1P 125 AC250 4P W-SCT HSP1P 125 AC415 4P W-SCT HSP1P 125 AC500 4P W-SCT HSP1P 125 AC690 4P W-SCT | 🔵 200~250V AC 🔴 380~415V AC ◯ 480~500V AC ◯ 600~690V AC | Download |
4P (3P + PE + NO) | HSP1P 125 AC250 4P W-SCT HSP1P 125 AC415 4P W-SCT HSP1P 125 AC500 4P W-SCT HSP1P 125 AC690 4P W-SCT | 🔵 200~250V AC 🔴 380~415V AC ◯ 480~500V AC ◯ 600~690V AC | Download |
5P (3P + N + PE) | HSP1P 125 AC250 5P W-SCT HSP1P 125 AC415 5P W-SCT HSP1P 125 AC500 5P W-SCT HSP1P 125 AC690 5P W-SCT | 🔵 200~250V AC 🔴 380~415V AC ◯ 480~500V AC ◯ 600~690V AC | Download |
5P (3P + N + PE + NO) | HSP1P 125 AC250 5P W-SCT HSP1P 125 AC415 5P W-SCT HSP1P 125 AC500 5P W-SCT HSP1P 125 AC690 5P W-SCT | 🔵 200~250V AC 🔴 380~415V AC ◯ 480~500V AC ◯ 600~690V AC | Download |
AC/DC PART NO. | POLES | AC/DC VOLTAGE |
|---|---|---|
HSP1P 125 AC250 4P W-SCT HSP1P 125 AC415 4P W-SCT HSP1P 125 AC500 4P W-SCT HSP1P 125 AC690 4P W-SCT | 4P (3P + PE) | 🔵 200~250V AC 🔴 380~415V AC ◯ 480~500V AC ◯ 600~690V AC |
| PDFDownload | ||
HSP1P 125 AC250 4P W-SCT HSP1P 125 AC415 4P W-SCT HSP1P 125 AC500 4P W-SCT HSP1P 125 AC690 4P W-SCT | 4P (3P + PE + NO) | 🔵 200~250V AC 🔴 380~415V AC ◯ 480~500V AC ◯ 600~690V AC |
| PDFDownload | ||
HSP1P 125 AC250 5P W-SCT HSP1P 125 AC415 5P W-SCT HSP1P 125 AC500 5P W-SCT HSP1P 125 AC690 5P W-SCT | 5P (3P + N + PE) | 🔵 200~250V AC 🔴 380~415V AC ◯ 480~500V AC ◯ 600~690V AC |
| PDFDownload | ||
HSP1P 125 AC250 5P W-SCT HSP1P 125 AC415 5P W-SCT HSP1P 125 AC500 5P W-SCT HSP1P 125 AC690 5P W-SCT | 5P (3P + N + PE + NO) | 🔵 200~250V AC 🔴 380~415V AC ◯ 480~500V AC ◯ 600~690V AC |
| PDFDownload | ||
Ambient temperature: -45°C to +65°C | Degree of protection: IP66 | Cable entry: M25 cable gland + M25 blanking plug Integrated switch: ON / OFF switching by rotating the plug in the socket |
||
PREISE ANZEIGEN / VERTRIEBSPARTNER WERDEN
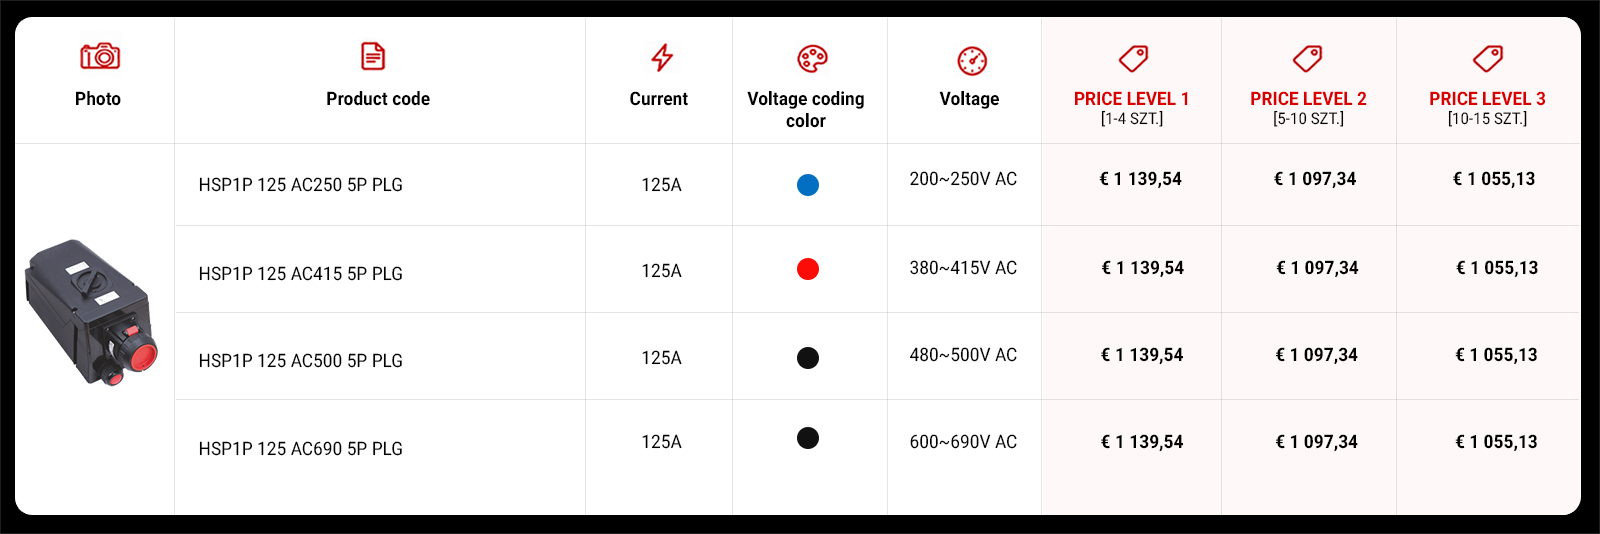
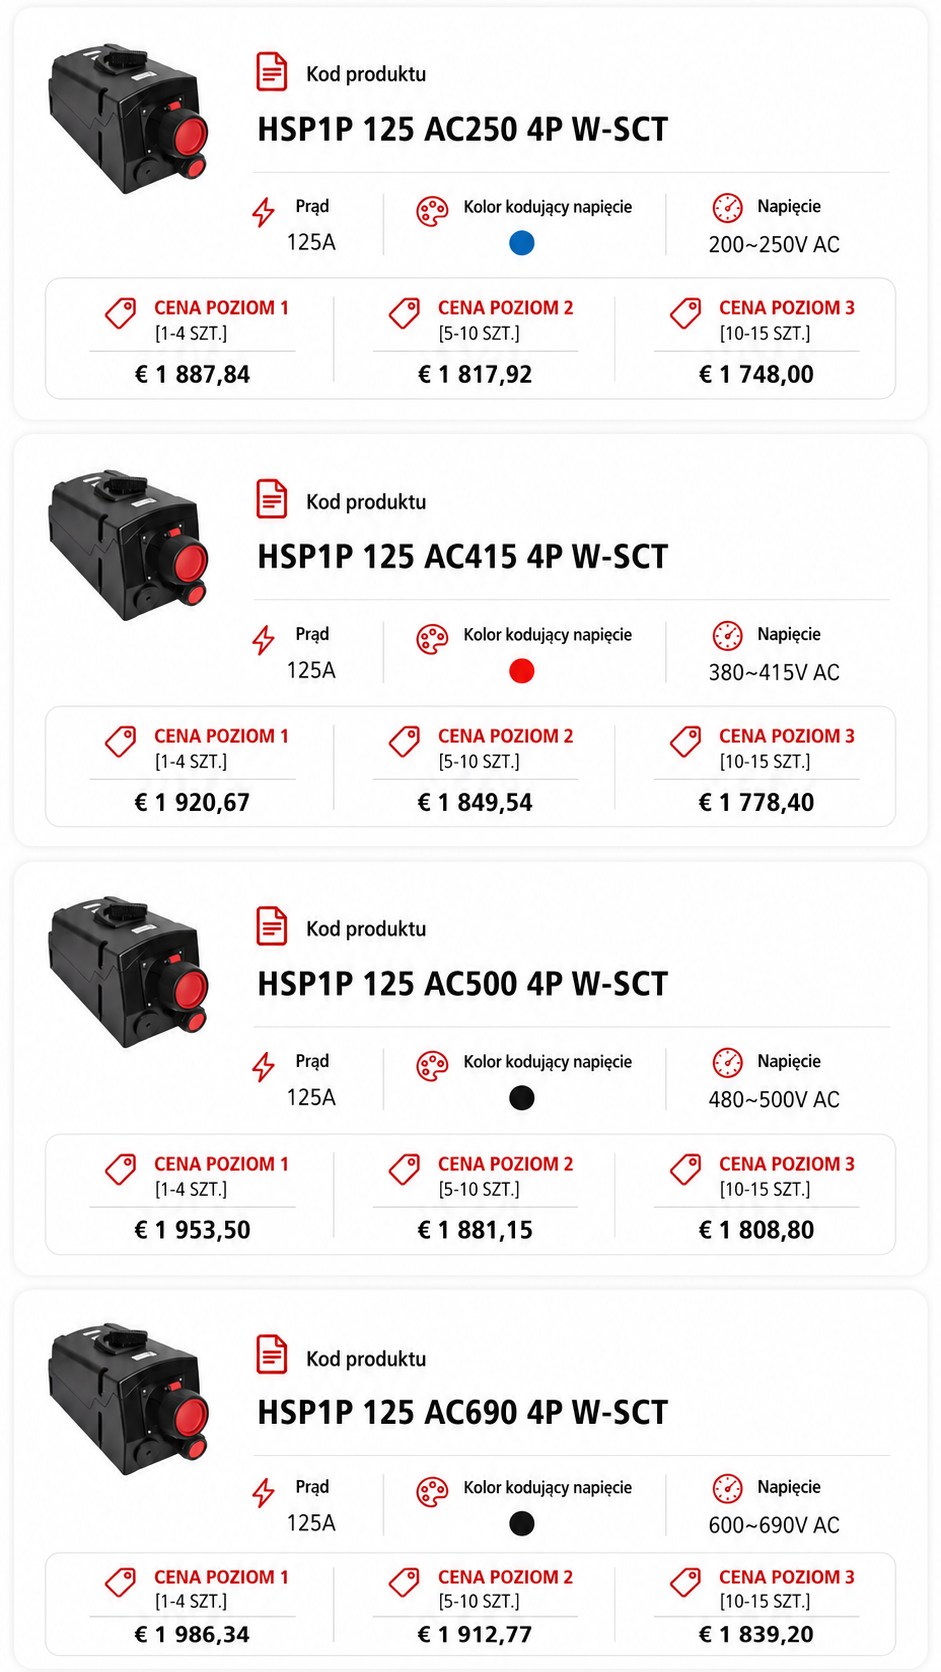
Preisliste für Ex-Steckdosen und -Stecker
Skrzynki łączeniowe
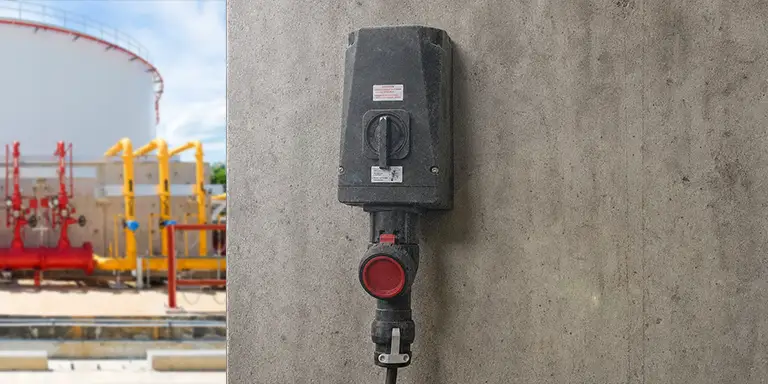
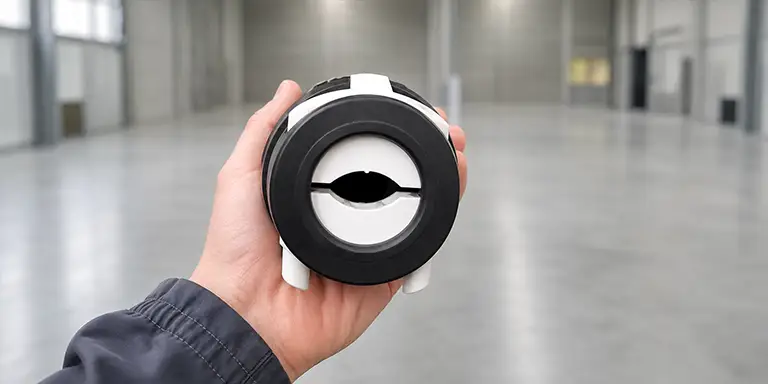
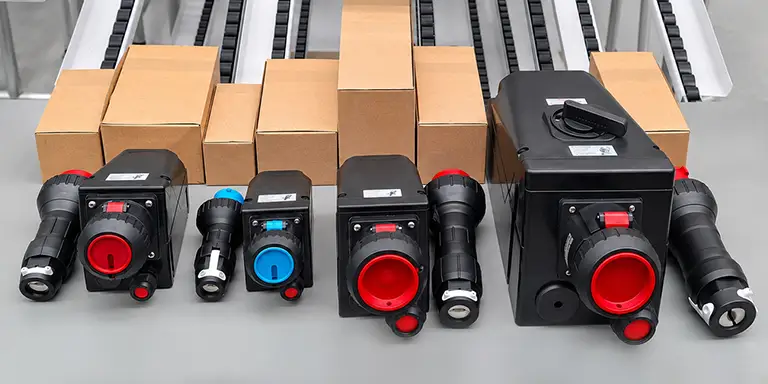
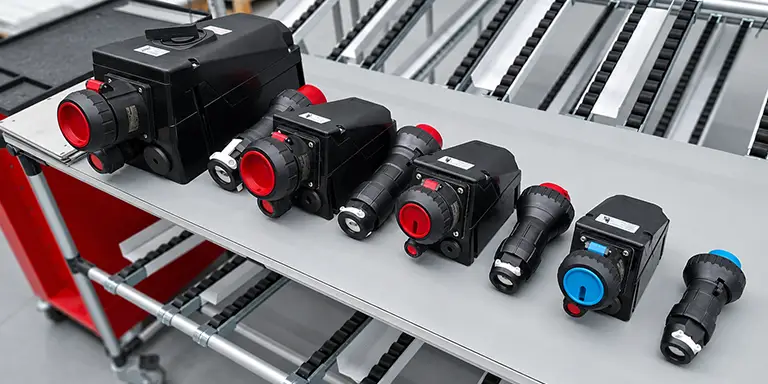
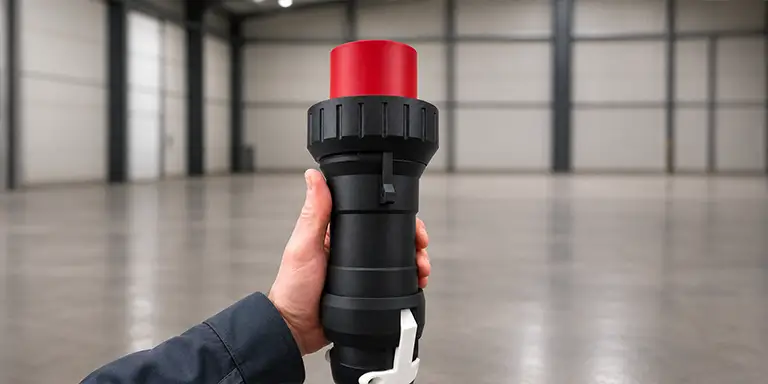
Sicheres Ein- und Ausstecken des HSP1P-Steckers
Schritt 0 – Überprüfung vor der Verwendung
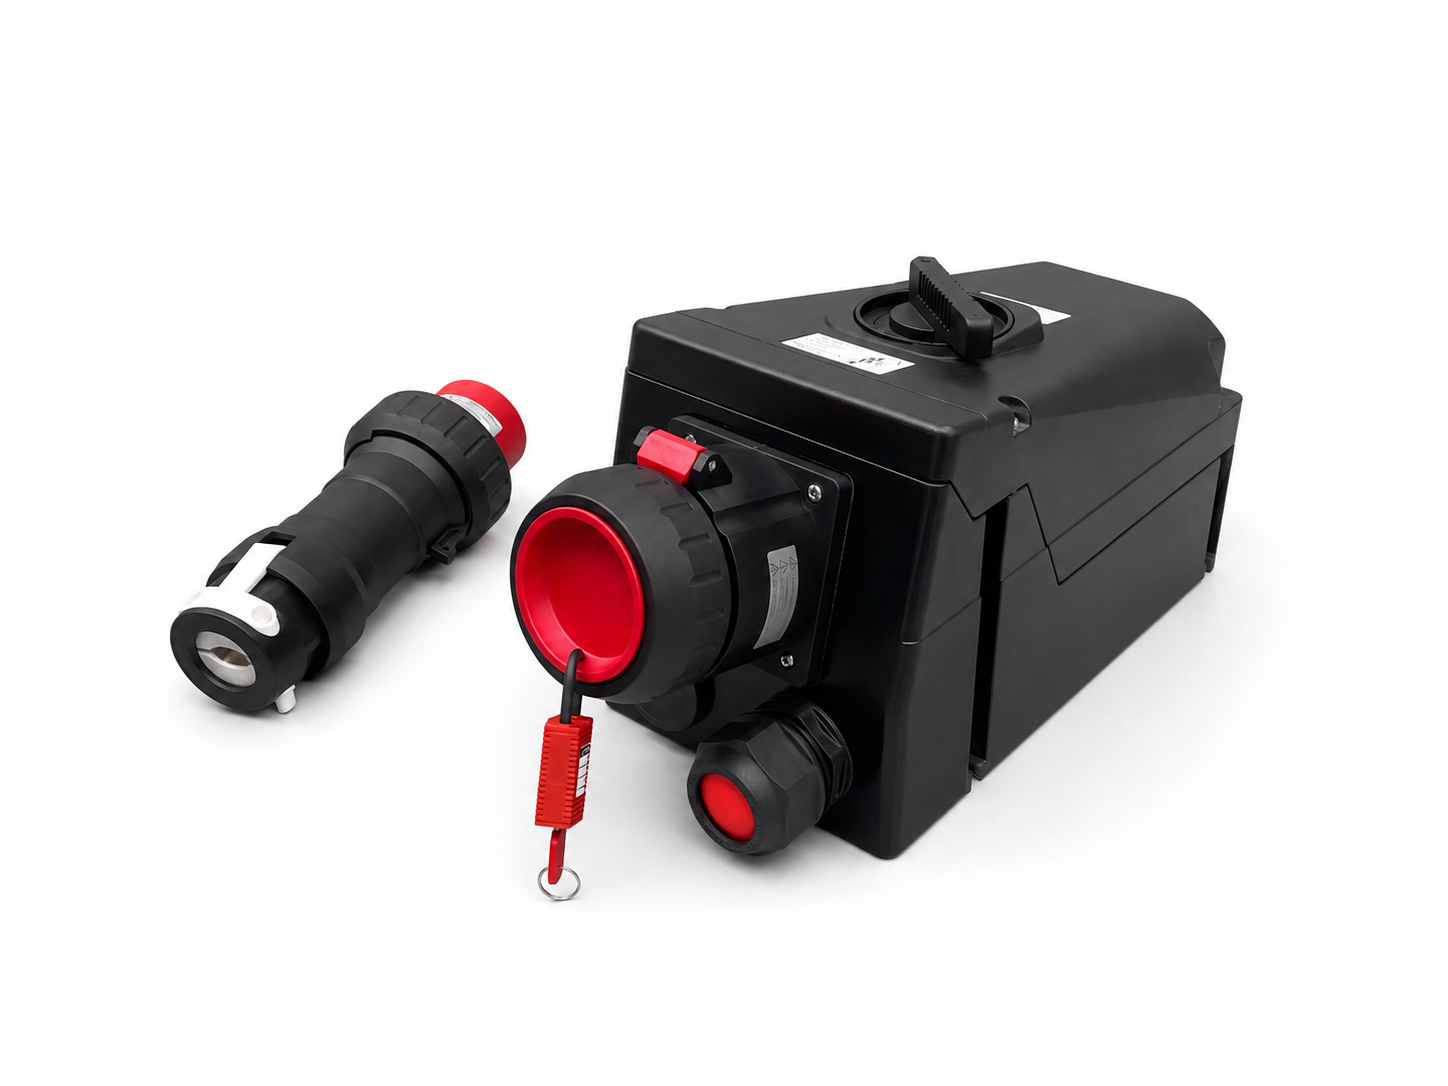
Überprüfe vor dem Gebrauch, ob die Angaben auf den Typenschildern mit den Parametern der Anlage übereinstimmen, und kontrolliere den Zustand der Steckdose, des Steckers, des Kabels, der Dichtungen, der Abdeckung und der Verriegelungselemente. Verwende das Set nicht, wenn du Risse, fehlende Teile oder andere Beschädigungen feststellst.
Trenne das Gerät vom Stromnetz und vergewissere dich, dass der Drehschalter an der Steckdose auf „O“ / OFF steht. Der Stecker darf nicht eingesteckt oder herausgezogen werden, solange das Gerät an das Stromnetz angeschlossen ist oder unter Last steht.
Schritt 1 – Schutzabdeckung öffnen
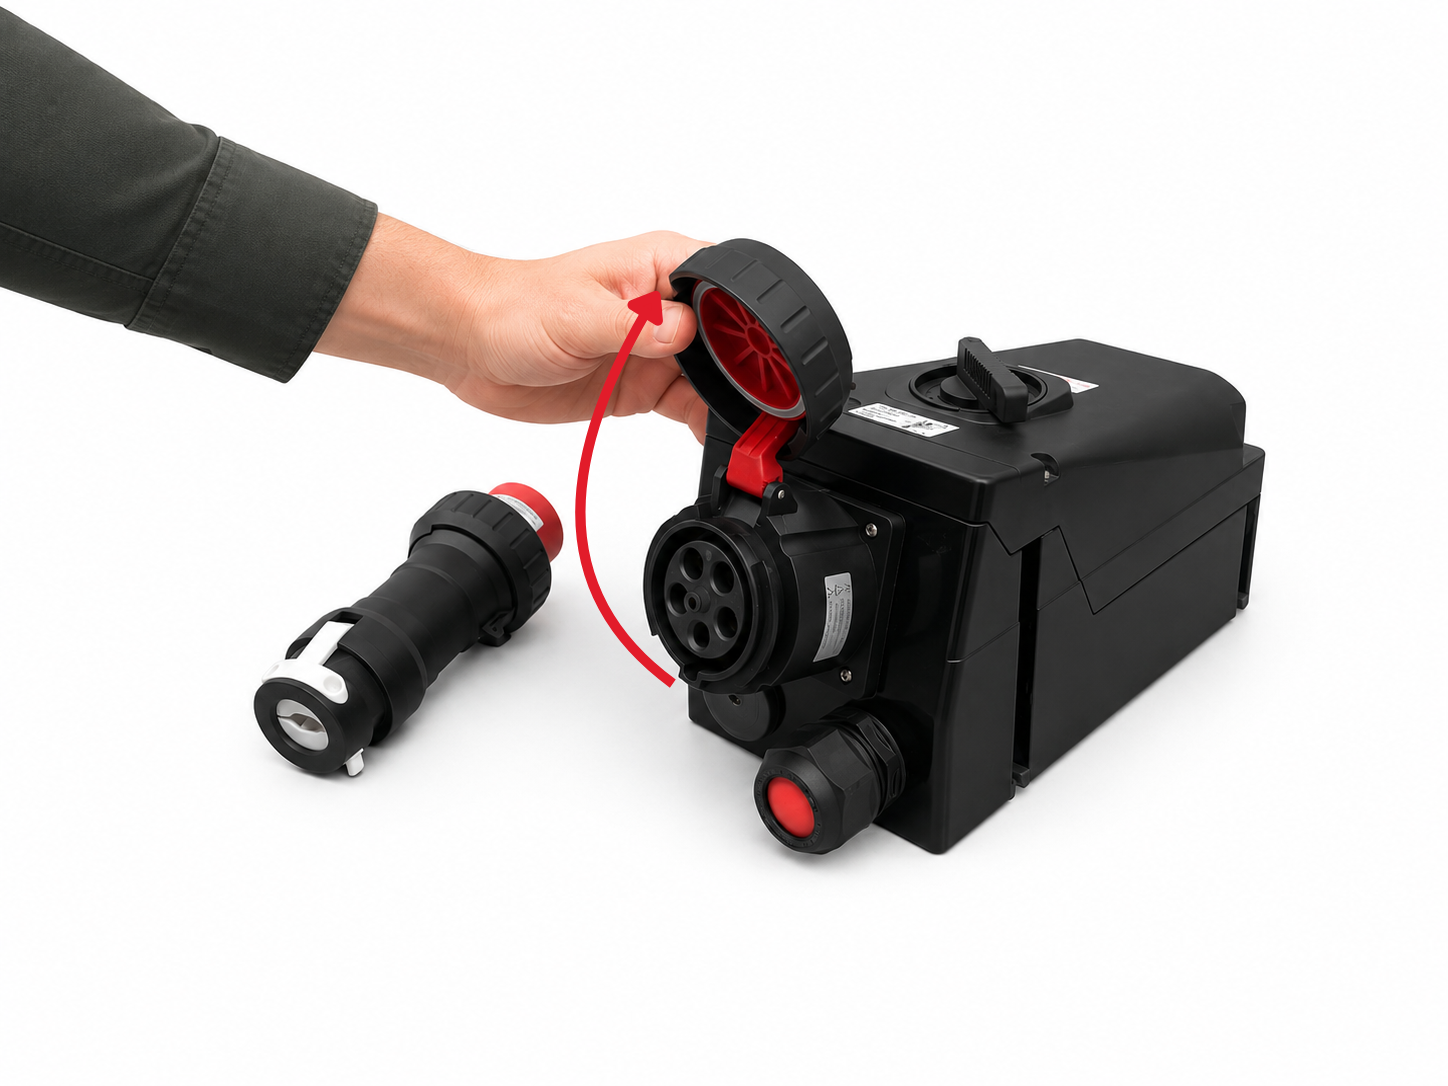
Schraub die Schutzabdeckung ab und klapp sie nach oben. Überprüf, ob das Innere der Steckdose sauber, trocken und unbeschädigt ist.
Der Deckel mit Dichtung schützt die nicht genutzte Buchse vor Staub und Wasser und gewährleistet die Schutzart IP66.
Schritt 2 – Stecker einstecken
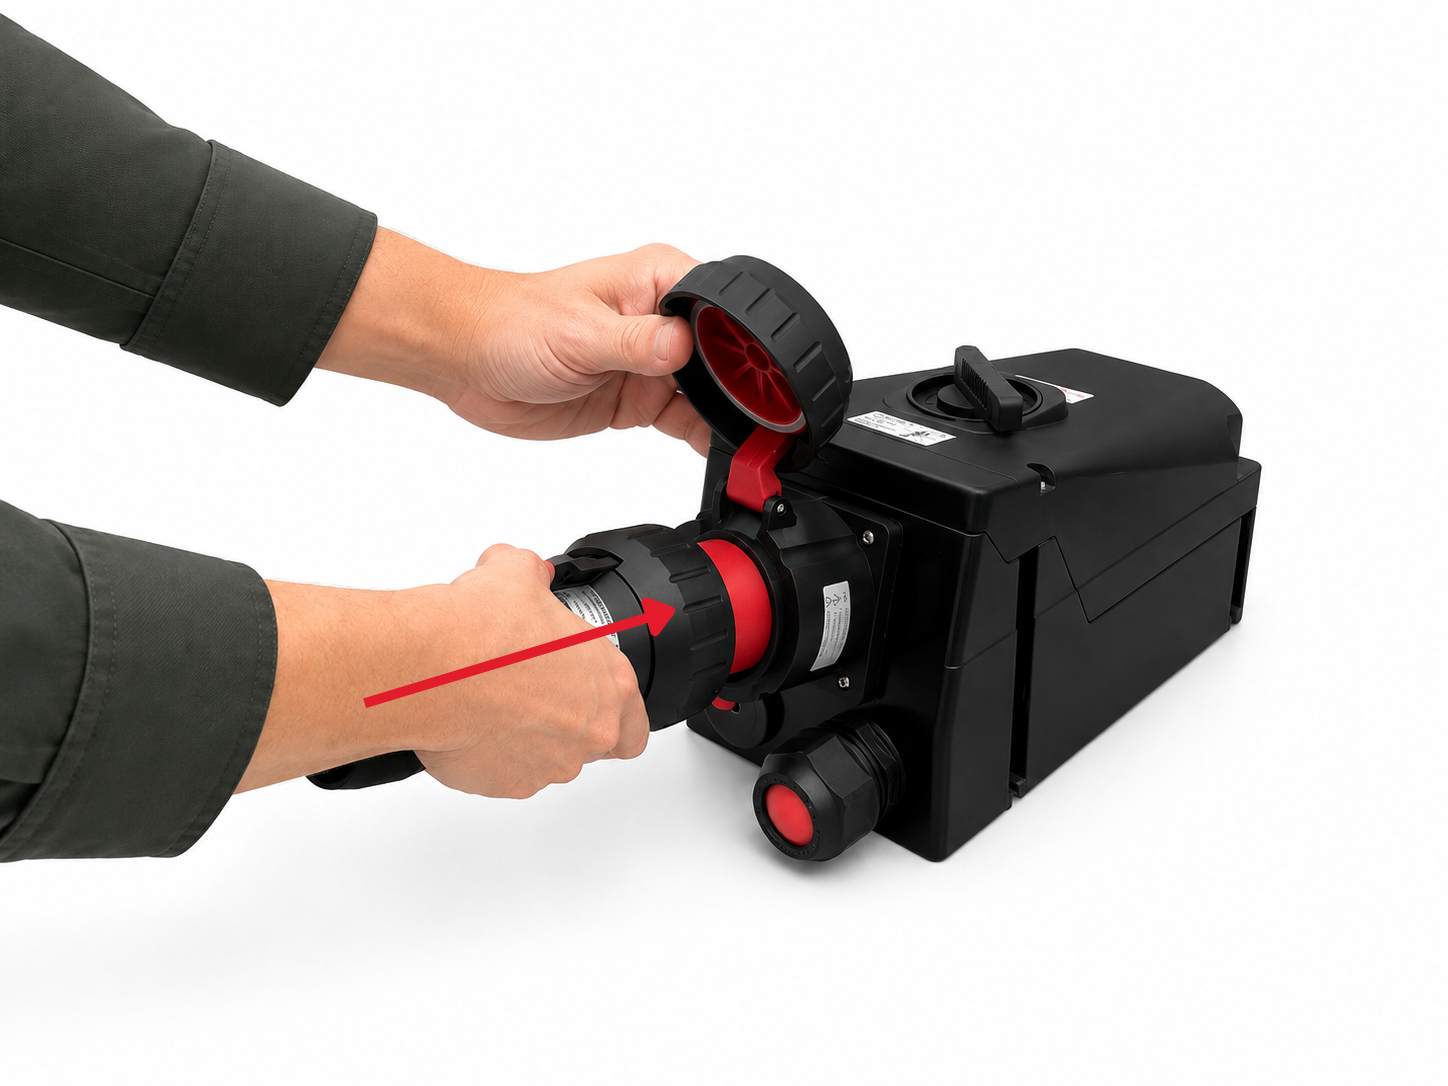
Richte den Stecker entsprechend der mechanischen Kodierung, der Kontaktanordnung und der Position des PE-Schutzkontakts aus. Schiebe ihn dann gerade in die Buchse, bis er vollständig sitzt. Dreh oder kipp den Stecker beim Einstecken nicht.
Die Steckhülsen sind selbstreinigend konstruiert, was beim Einstecken die Ablagerung von Verunreinigungen auf den Kontaktflächen verhindert. Bei der Variante 125 A solltest du das Gewicht des Steckers abstützen, damit die Buchse nicht seitlich belastet wird.
Schritt 3 – Verbindung sperren
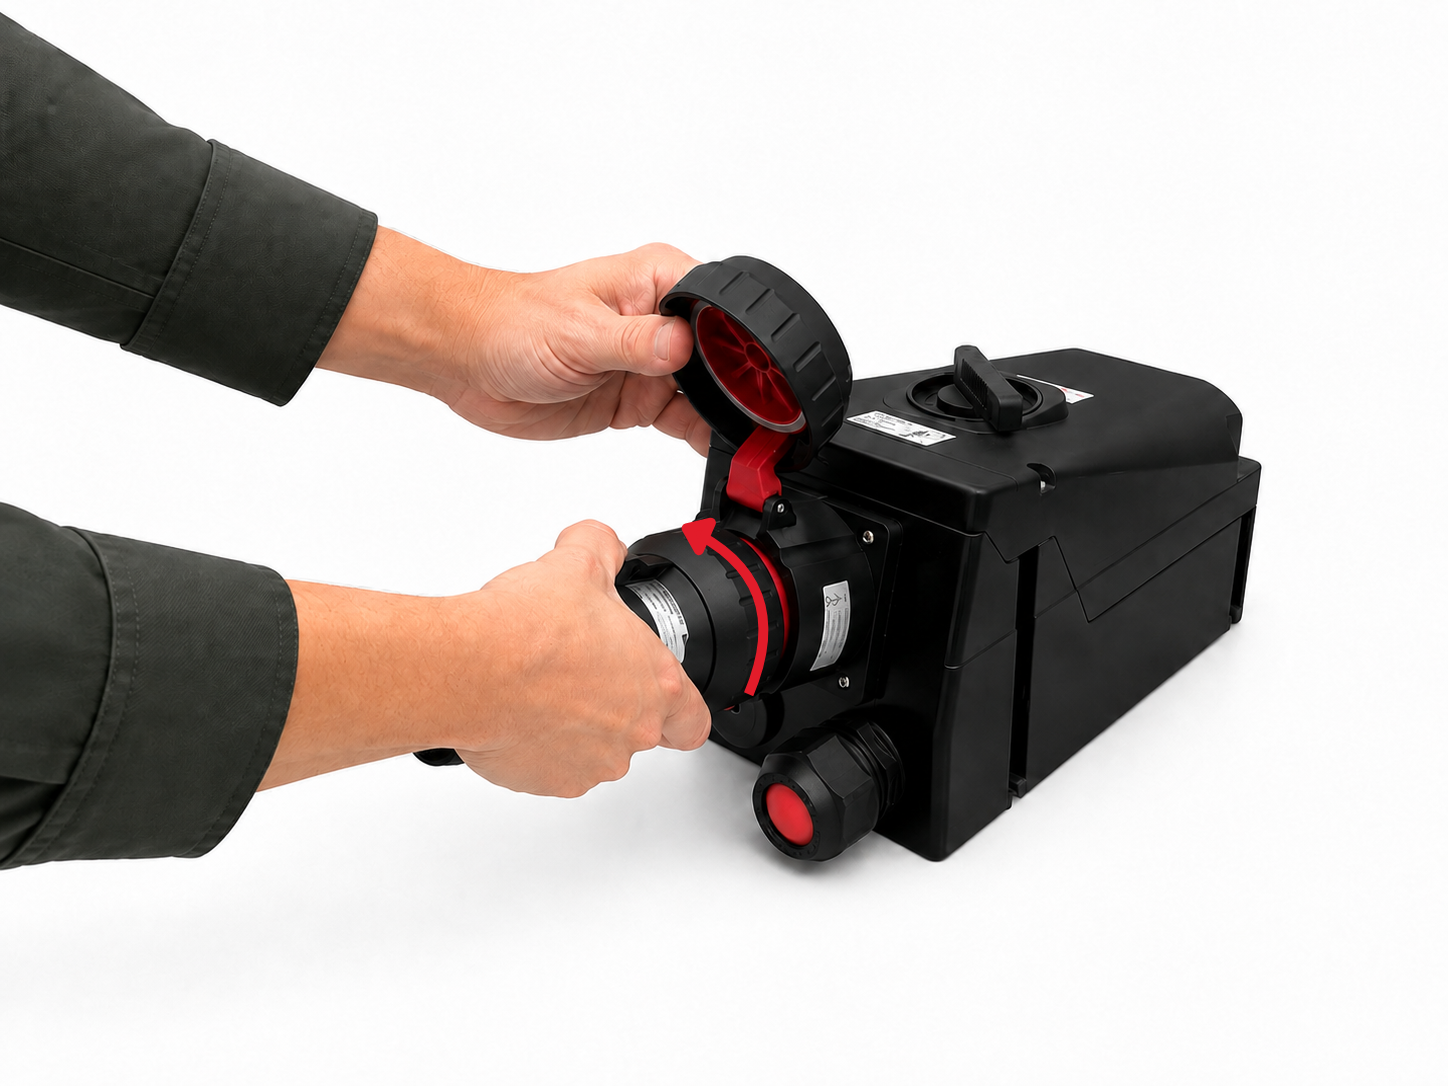
Halte den Steckerkörper fest und drehe den geriffelten Sicherungsring im Uhrzeigersinn bis zum Anschlag.
Der Ring stabilisiert und dichtet die Verbindung ab und verhindert, dass sich der Stecker versehentlich löst. Vergewissere dich vor dem Einschalten des Stromkreises, dass der Stecker vollständig eingesteckt und richtig verriegelt ist.
Schritt 4 – Einschalten des Stromkreises
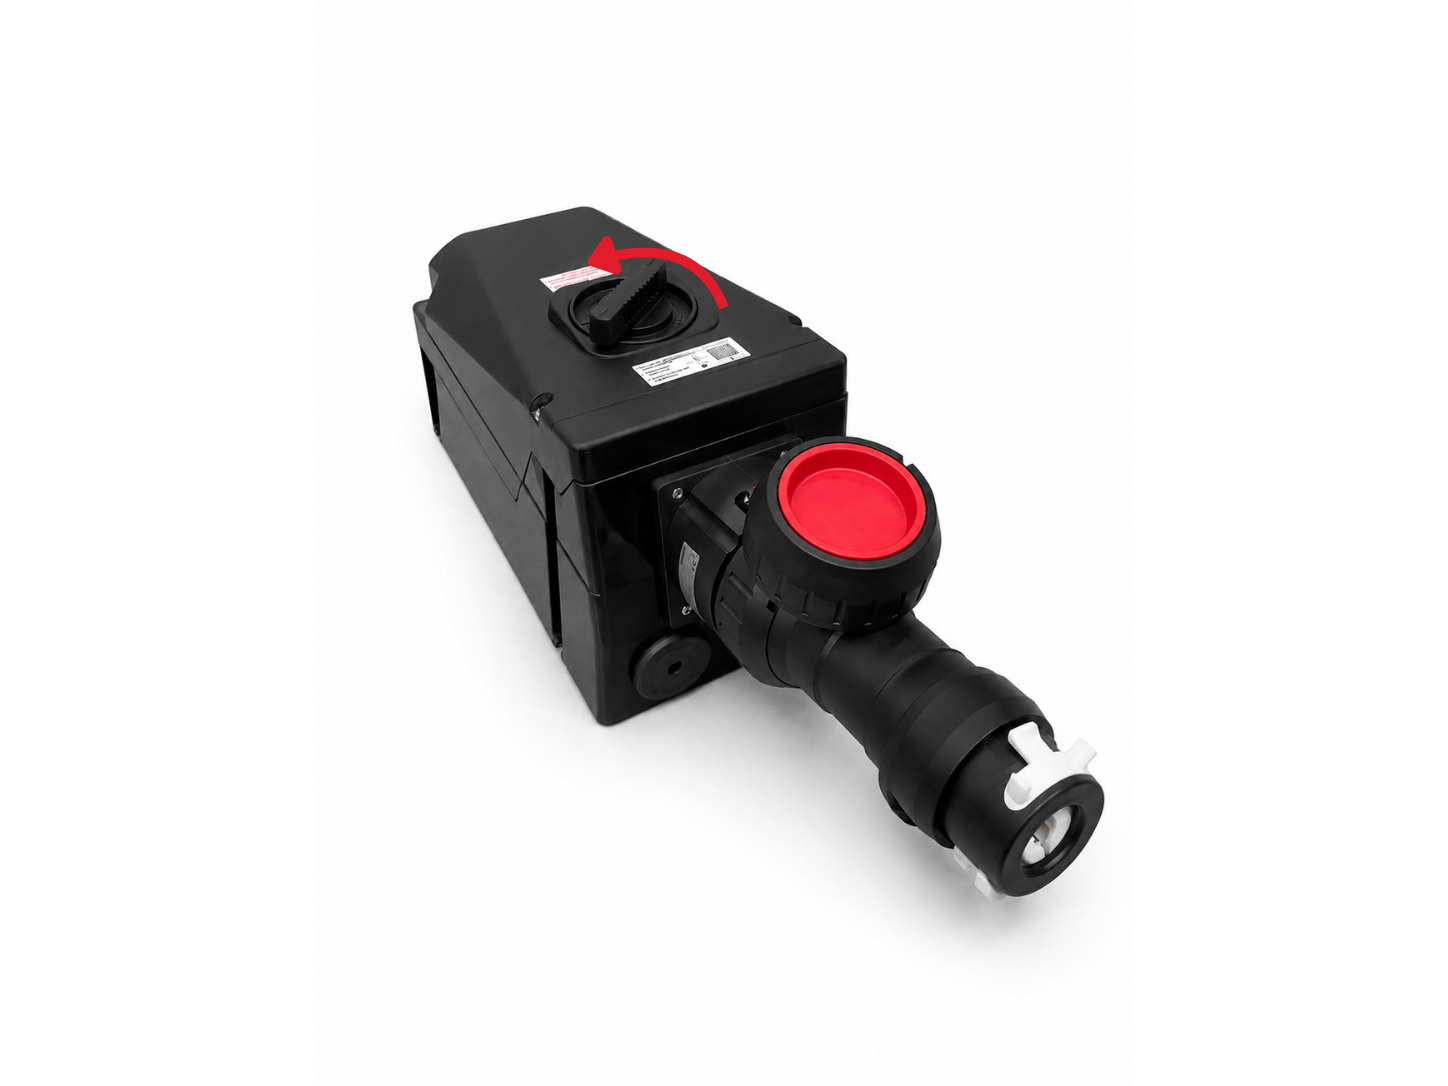
Dreh den Drehknopf am Gehäuse der Steckdose von der Position „O“ / OFF in die Position „I“ / ON, wie auf dem Gerät angegeben.
Durch Drehen des Drehknopfs wird ein interner Schalter betätigt und der Stromkreis geschlossen. Eine mechanische Verriegelung verhindert, dass der Stecker während des Betriebs herausgezogen werden kann. Das Gerät lässt sich erst einschalten, wenn der Stecker vollständig eingesteckt und verriegelt ist.
Schritt 5 – Den Stromkreis ausschalten
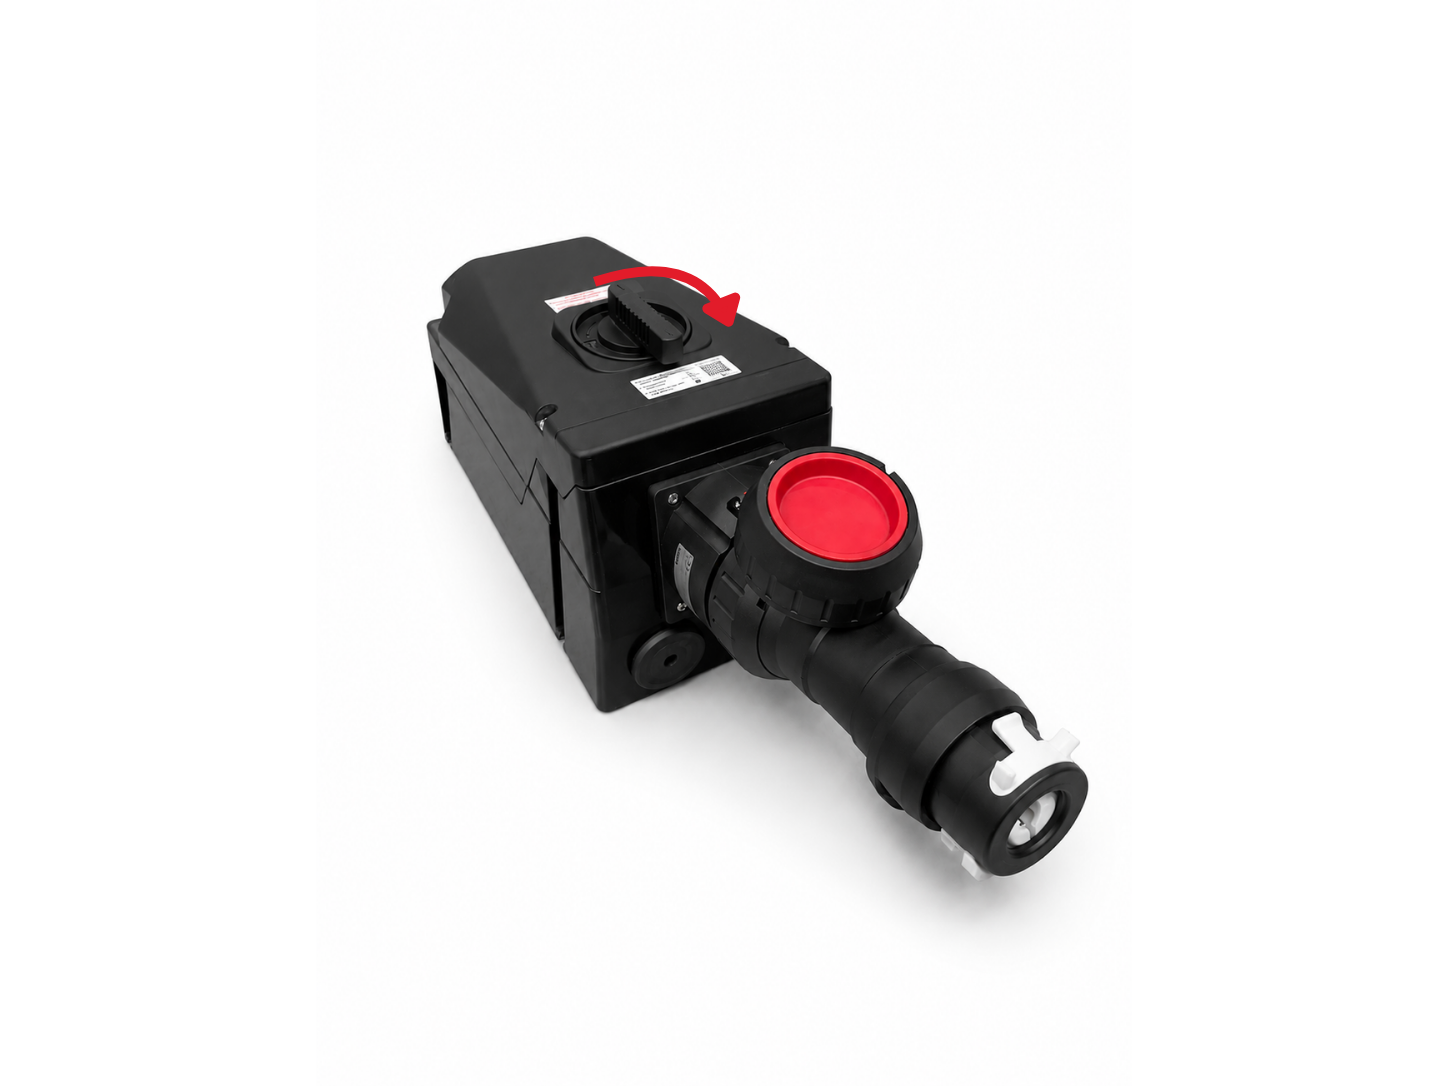
Wenn du das Gerät nicht mehr benutzt, trennst du zuerst die Stromversorgung. Dreh dann den Drehknopf von der Position „I“ / ON in die Position „O“ / OFF.
Wenn du den Drehknopf auf „OFF“ stellst, wird der interne Schalter geöffnet und du kannst den Stecker sicher lösen. Fang erst mit dem Abziehen an, wenn die Stromversorgung ausgeschaltet ist.
Schritt 6 – Den Stecker entriegeln und herausziehen
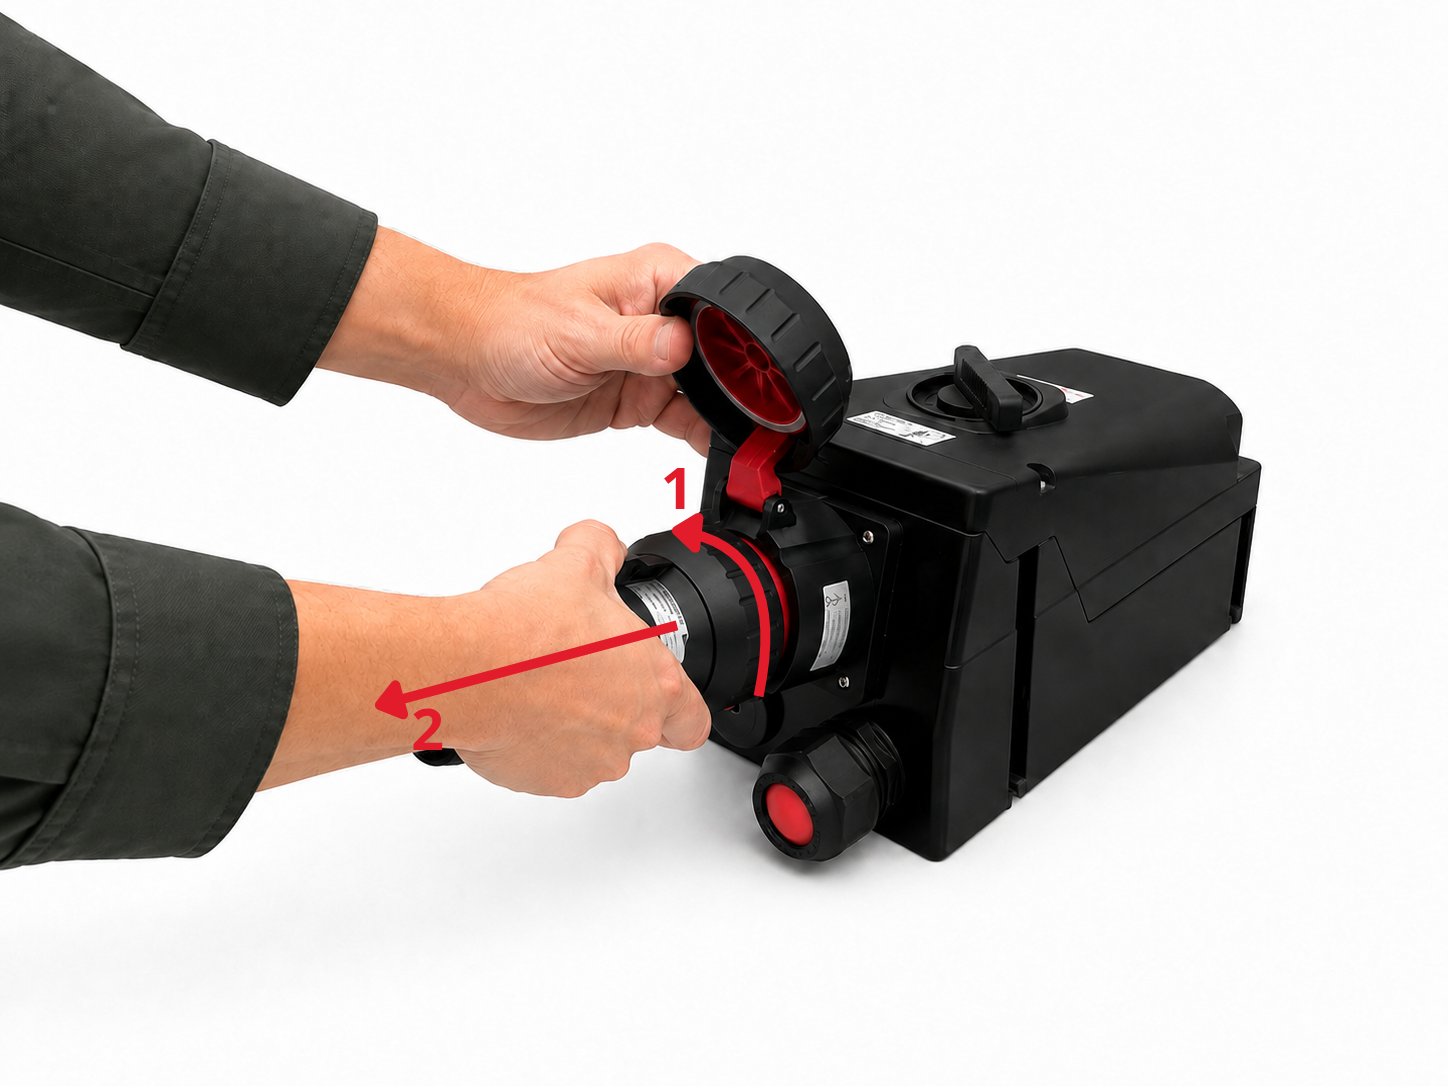
Halte den Stecker fest und drehe den Sicherungsring gegen den Uhrzeigersinn, bis die Verbindung vollständig gelöst ist.
Zieh den Stecker anschließend gerade aus der Buchse heraus, in Richtung der Achse des Steckverbinders. Dreh oder kipp ihn beim Herausziehen nicht. Bei der 125-A-Variante solltest du das Gewicht des Steckers abstützen, um die Buchse und die Kontakte nicht zu beschädigen.
Schritt 7 – Den Deckel schließen

Nachdem du den Stecker vollständig herausgezogen hast, setze die Schutzkappe wieder auf und schraube sie fest zu.
Wenn die Steckdose nicht benutzt wird, sollte die Abdeckung geschlossen bleiben. Sie schützt das Innere des Geräts vor dem Eindringen von Staub, Feuchtigkeit und Wasserdampf.
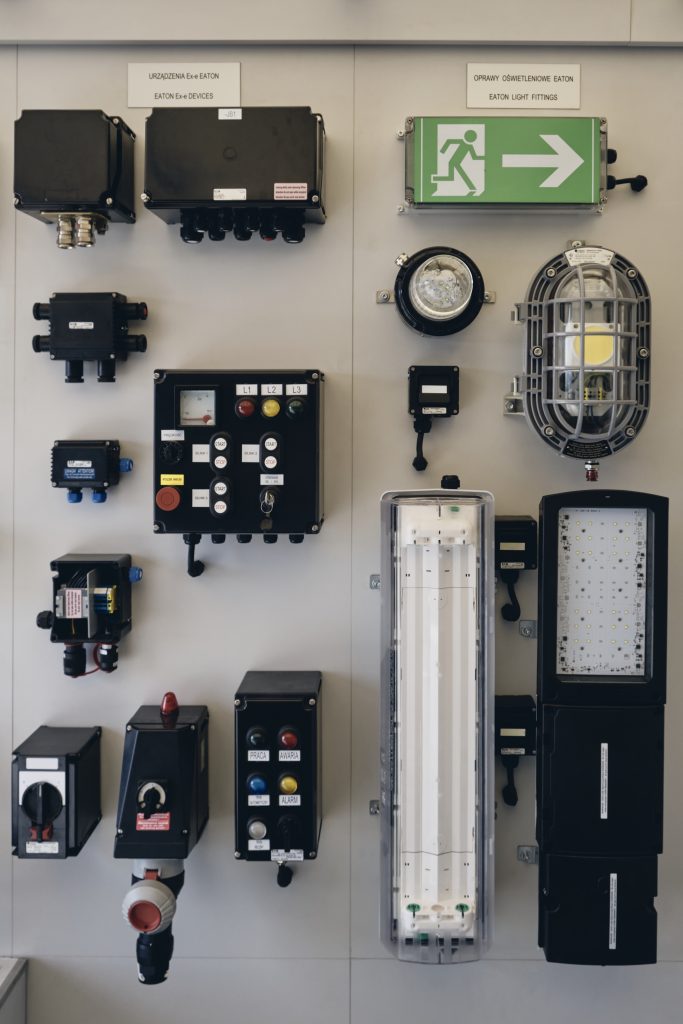
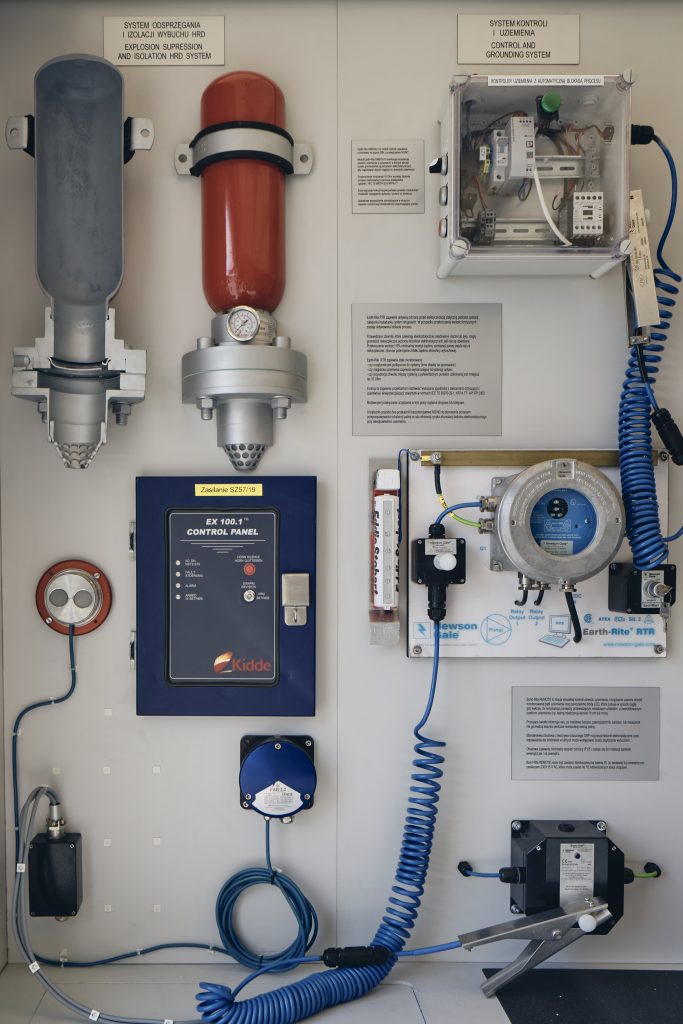
Mobiles Ausstellungszentrum
Arbeitest du im „Ex“-Bereich an einem Projekt? Hast du das Gefühl, dass dein Wissen nicht ausreicht? Suchst du einen langfristigen Lieferanten oder denkst du darüber nach, deinen derzeitigen Lieferanten zu wechseln?
Jeder Grund ist gut genug, um einen Termin in unserem Handyshop zu vereinbaren.
Warum vereinbaren unsere Kunden einen Termin im Ausstellungszentrum für Handys?
Sie wollen in ihrem Werk die Qualität und Funktionalität der „HARDO“-Lösungen mit denen anderer Hersteller vergleichen
Das Team muss eine Schulung zur Montage und Auswahl von Ex-Geräten organisieren
In ihrem Unternehmen arbeitet man daran, die Ausrüstung zu standardisieren, und sucht nach der besten Lösung
Ich möchte den Kaufprozess beschleunigen, indem ich den Kunden die Möglichkeit gebe, das Gerät selbst anzuschauen und auszuprobieren
Ich möchte nicht nur die technischen Eigenschaften bewerten, sondern auch die Ergonomie und die Benutzerfreundlichkeit dieser Produkte
Er schätzt den direkten Kontakt und die Möglichkeit, mit den Ingenieuren zu sprechen, sehr
Überzeug dich selbst!
Schau dir an, wie unsere Produkte in echt aussehen, und wähle die aus, die du brauchst


Welche Branchen unterstützen wir?
Wir sind hier, um die besten Lösungen für die Industrie anzubieten. Finde heraus, wie wir deinem Unternehmen helfen können!